Chem flushing and Buffing Brass 101
To learn the basics of buffing brass bells, we were given trombone bells to practice on. But before we could buff them, we had to make sure they were nice and squeaky clean so it was off to the chem room to take away the layers of grime that had accumulated on our bells.


But it still wasn't as nice looking as it could be so it was off to the buffing room. To help get the directions right, I marked arrows all over it which were then buffed off.

After it came out of the buffing room, it looked like a completely different trombone bell.


Intro to Trumpet Bells
It's time to move on to trumpet bells, and like the trombone bells they were filthy and tarnished. Once again, it was off to the chem room and buffing room to turn these diamonds in the rough into real gems.
Before chem flushing...


After chem flushing...


And after buffing!


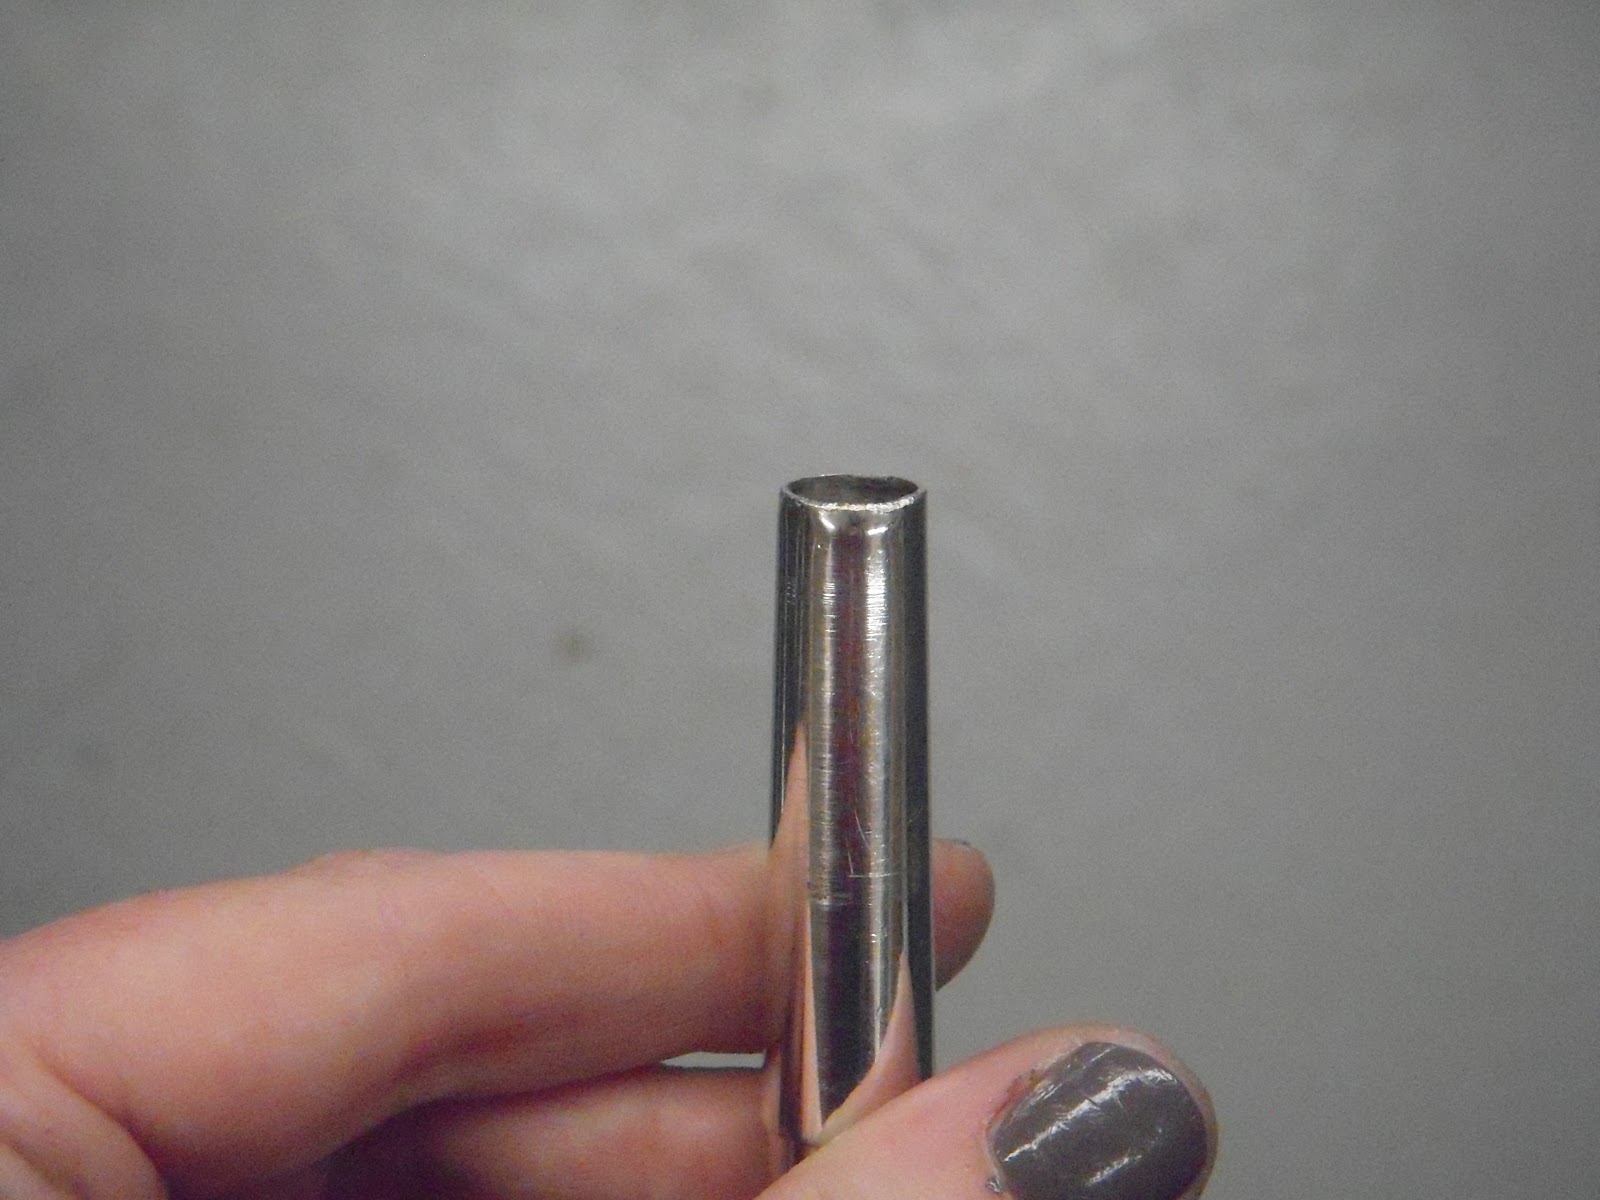
Small crook dents
My first introduction to dent work started with small crook dents (like second valve slides.) I was given a dish dent and a sharp dent and had to use greased dent balls on rods to get them out. For the dish dents I just had to rub the dent up to surface with a little bit of tapping to get it all the way there and for the sharp dents I had to tap the dent almost up to surface and then rub it out the rest of the way.


With dish dents the damage is almost unnoticable when finished, but sometimes the sharp dents still have a scar. The dent is gone, but there's still a reminder of what used to be there.


Soft soldering
To practice our soft soldering skills, we were given the task of taking a brass patch (simulating a phlange) and had to fit it snugly to the part and solder it on. Seems simple enough, right? The challenge is to fill the seam without overfilling and without getting solder everywhere (i.e. on top of the patch.) We were allowed three practice patches and then were given a test patch.
The test consisted of getting a patch, fitting it to the part perfectly, soldering it on without too much clean up and then buffing it up to color. There's a little bit of solder on the top of my patch, but the rest of my soldering looks beautiful.


Building a slide
To continue our soldering education, we were given a crook, two slides and two ferrules and were shown how to put them together to make a first valve slide.
The first step was to prep the slides and ferrules by making sure they fit properly and also by cleaning the ends of the slides with Scotch Brite pads.


Once the ferrules were soldered to the slides, it was time to solder the crook in place. We used a trumpet without a first valve slide to solder the crook on. To make sure that I didn't solder the tubes into the trumpet, I pushed the slides out about an inch and then soldered the crook into place.


The next step was to buff the newly built slide up to color. To protect the slides, I taped them up and started with yellow rouge and then moved to red to bring it up to color.


Bell bow dents
Another type of dent work I leanred was to take dish and sharp dents out of bell bows. I was given a dish dent first and, with the help of the Roth tool, "forced" the dent up to surface by pushing different sized barrel dent balls through. As with the small crook dents, the ball is greased.
With the sharp dent, I had to find a dent ball that stopped right at the dent and then tap everything until the dent was close to being up to surface. Once that happens, it's exactly like the dish dent.
After I was finished with the dish dent, it was like it was never there. And with the sharp dent, there was still a scar like with the small crook, but everything was up to surface.


Bell buckle
One of the more advanced areas of dent work we did was the bell buckle, which is an involved process to remove, but the results make it rewarding.
When I got my buckle, the rim started folding before it actually buckled so I had a lot of rim work to do once I got a large portion of the dents rolled out. Even just rolling out those major dents made the bell look ten times better and after I was finished with it, it almost looked like it had never been damaged (there was some scarring, but that's expected.)


Bell Fold
Sometimes the rim of the bell will get folded up and needs to be fixed. For trumpets, the best way to do this is to put the bell on a bell iron and tap the rim down with a rubber mallet. This gets the part of the rim that's flipped up back down to where it needs to be, but it's still not there yet.
After tapping, you take the bell to a roller and go over the section that had been folded up. To see if it's perfectly level, we use a granite block that is guaranteed to be level. If there are little cracks of light showing or the bell is rocking back and forth, that's where you need to target. These areas can be fixed by taking a rawhide mallet (with leather on the end) and either holding it up in the air and tapping the rim upwards, like striking chimes, or to put it on your knee and tap that way. Personally I like using my knee because I'm more likely to miss doing it the other way.


Mouthpieces
Truing up mouthpieces is a two-fold process. First, you have to make sure the shank is round. If it's not, fix it by putting an arbor in a bench motor (no pedal!) and tapping it back into round.
Before...


After!

The mouthpiece looks like night and day after you give it this kind of TLC.


No comments:
Post a Comment